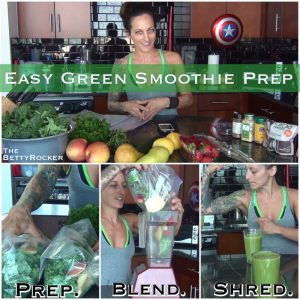
As you know I’m a big fan of green smoothies, and today I wanted to show you just one simple way you could prep your smoothies for the week to save you lots of time daily.
Personally, I’m on the go all day – and if I had to choose one thing I didn’t want to miss every day – one thing that really made a difference to my muscle tone, my immune system, my energy and my overall health – it would be my daily green smoothie.
Join me in the kitchen as I share two green smoothie recipes that pair well together, and some of my best strategies for saving money and time when it comes to making them – to keep you from ever missing out on one of the most important parts of YOUR day.
I also sharing an optional spice blend to give you and idea of other ways you can “jazz up” your smoothies (works great as a topping for oatmeal too).
3 Ways Green Smoothies Help You Save Time and Boost Your Health
1. Green Smoothies are a super efficient and tasty ways to ensure you’re getting lots of micronutrients, anti-inflammatory compounds, phytochemicals your body needs to support your immune system and function at its best on a daily basis.
2. Eating (or in this case drinking) your greens supports your liver – your body’s primary fat-burning organ.
One of your liver’s important jobs is to filter out toxins and wastes, and if you’re eating too many processed foods it can get clogged up and not be able to do its OTHER important job which is metabolizing fat.
3. Greens are also full of fiber which supports a healthy gut, moving food and anything that could be stuck along the pathway through you and out of you to keep your immune system healthy and your stomach from bloating.
I know that making a green smoothie that tastes good on the fly can seem a little daunting, so one of my time-saving solutions for you is to prep bags of greens and bags of fruit ahead of time to set yourself up for the week. This is actually super easy, and you can do any variety of greens and tasty ingredients you like.
1. Bag the greens.

Rotate through different kinds of greens throughout the month to keep your body infused with a spectrum of phytonutrients. You might also like adding a protein-greens powder like Whole Betty Berry Green Protein, to add a wider spectrum of greens to your smoothie that already has 18 grams of protein.
Other optional greens to include:
1 stalk celery
1/4 cucumber
1/4 cup (approximate) fresh parsley
Fresh herbs (mint, parsley, basil, etc)
2. Add flavor and protein
Depending on your greens, it can be fun to add some spices to “jazz up” the flavor of your blend, and/or you can simply use the flavor of your protein powder to give your smoothie a little more flavor pop.
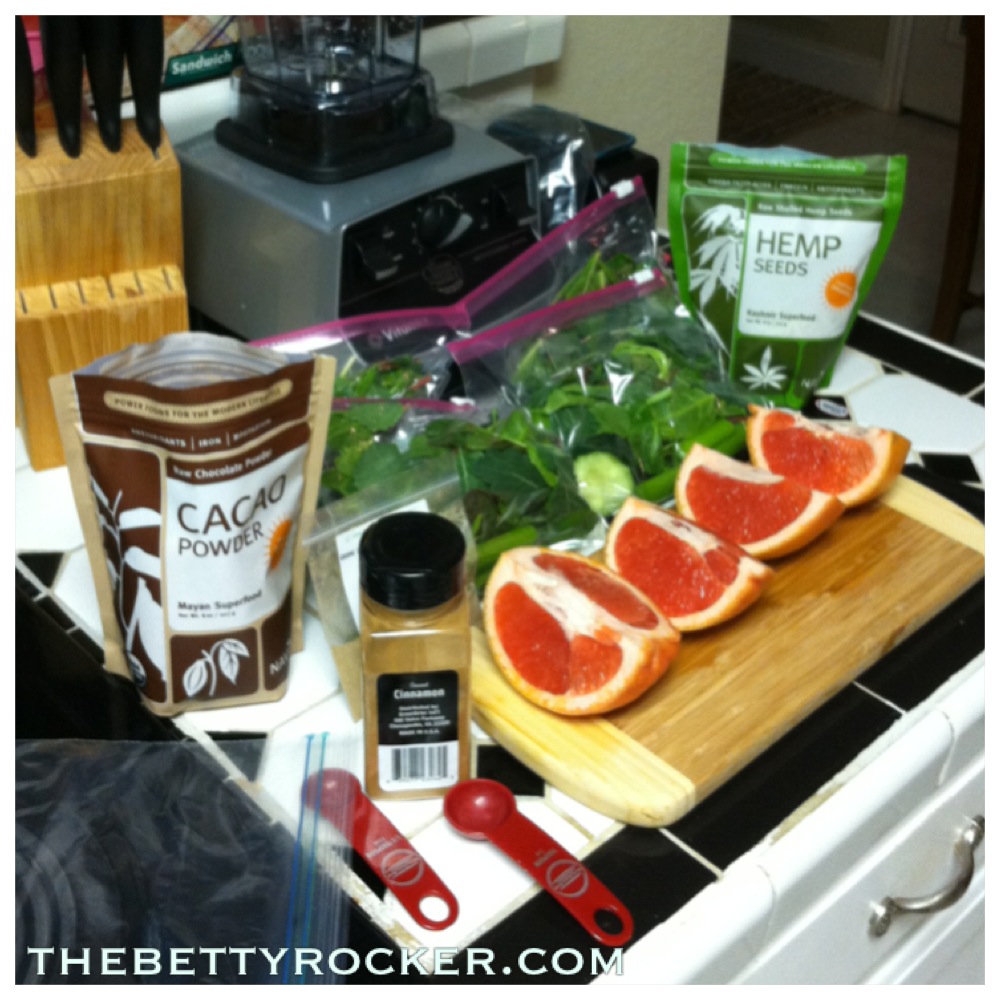
When it comes to spices, I like to make a spice blend and put a small amount of the blend in each bag along with the greens. One of my favorites is:
- 2 tsp cinnamon
- 1 tsp cacao
- 1 tsp nutmeg or cardamom
- 1 tsp ginger (or use fresh ginger root)
Mix those together and add 1/2-1 tsp of the mix to each bag. This might be the stage where you want to throw in some additional fiber and nutrient-dense ingredients like chia seeds, flax seeds or if your doctor has you adding some gut supportive powders like glutamine, or BCAA’s, you can toss them into the bag too so your smoothies take less time to make when you’re ready for them.
If you like a fruiter taste, try Berry Green Protein – it’s got a delicious strawberry vanilla flavor, and will boost your smoothie with 18 grams of organic, plant-based protein. Or try I ❤️Vanilla Protein, also organic and plant based for a smooth vanilla addition and 20 grams of protein.
3. Bag your Fruit.
You can skip this step if you buy frozen fruit. If you buy fresh, you can make separate singe use bags of fruit and freeze them (or refrigerate if you know you’ll use it soon). Then you can just dump the two bags (greens and fruit) together, add some liquid, and you’re ready to blend.
I usually buy whatever seasonal fruit looks good (like apples, pears or peaches) and frozen berries to save money. If I’m using a citrus fruit, adding a wedge of that can help keep cut up apples or pears from browning if it’s going in the refrigerator, and adding a squeeze of it to frozen fruit will give you the benefits of the juice when you add it in later.
A couple optional ideas to build your fruit bag:
- 1 apple OR pear, cut up into pieces (remove the core)
- 2/3 cup frozen or fresh berries: assorted or blueberries, blackberries, strawberries
- 1/4-1/2 fresh lemon, squeezed into the bag
4. Add liquid and blend!

If the Blendtec seems a little pricey, you can look into getting a refurbished blender from Blendtec (great money saver), or check out the Nutribullet – also a great option though not quite as powerful.
Keep in mind that if your green smoothies aren’t blended to tiny particles, you will want to eat/drink them a little more slowly in order to allow some pre-digestive enzymes to work. Gulping them down may lead to a little bit of stomach ache.
You also want to be sure to wash your greens. You’re eating food raw – cleanliness is paramount.
My formula for washing fruits and vegetables is to add some Apple Cider Vinegar to your (very clean) sink of water or a basin, and rinse them off in there. Use about 1/3-1/2 cup ACV to a basin/sink of water. If your produce isn’t organic, you’ll also want to scrub it gently with a soft bristle brush.

