
As you all know, I am a complete nerd. For proof of this, please refer to a recent workout video, where I am dressed as Lara Croft in Tombraider.
As a life-long Star Wars fan, Kitchen Jedi and Workout Ninja, I will tell you with 100% certainty that when it comes to Christmas and baking, I don’t mess around. These cookies are freaking awesome!!
All of the ingredients in this recipe are gluten free, so they won’t upset your stomach if you have a gluten sensitivity. They’re dairy free – and not made with any highly processed oil – I used whole, unrefined coconut oil. I even gave you my powdered sugar recipe so you can make your own healthy version!
They will take an hour or so to put together, between the rolling and the cooking and the decorating, but I can’t think of anything more fun than decorating ninjas and Millennium Falcons….or any Christmas cookie shapes you like.

I’ve tested this recipe with both a home made gluten free flour blend, and the store bought Bob’s Red Mill (be sure to add xantham gum if you’re using their mix) and both worked great. Be sure to read my notes, and leave your own if you try something different!
I’d love to hear about your substitutions, experiments, Star Wars stories, or anything at all related to ninjas, Christmas and general awesomeness.
Happy Holidays…and may the Force be with you!
Gluten Free Star Wars Ninja Chocolate Christmas Cookies
Yield: 24 cookies
You will need: mixing bowl, electric mixer, rubber spatula, measuring cups and spoons, high-speed blender, waxed paper, rolling pin, cookie sheets
2/3 cup coconut sugar
1/2 cup cacao powder
1/4 cup coconut oil (solid, not melted)
2 T avocado oil (olive oil is fine too)
2 egg yolks
2 tsp vanilla extract
1 3/4 cup gluten free flour blend*
2-3 T water
*Gluten free flour blend
1 cup brown rice flour
1 cup white rice flour
2/3 cup potato starch
1/3 cup tapioca starch
1 tsp xantham gum
Mix together in a large bowl. Store in a ziplock bag in the refrigerator. If you buy a pre-made gf flour like Bob’s Red Mill be sure to read the package. Bob’s for example requires an additional 1/4 tsp of xantham gum for each cup used. Theirs has garbanzo bean flour in it too, which has a slightly bean-y taste – which would be masked by the chocolate in this recipe pretty well.
1. Blend the coconut sugar in your high-speed blender (Vitamix, Blendtec, etc) until powdery. I don’t know how this works in a normal blender, I’m sure you could get it to break down a bit – but the high speed really pulverizes it to a powder.
2. Combine coconut sugar and cacao powder in a bowl, and add coconut oil and avocado oil. Blend on medium with an electric mixer.
3. Add in the egg yolks and vanilla, and beat until well mixed.
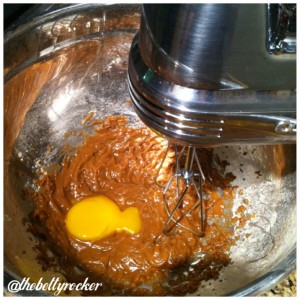
4. Add the flour and blend on low speed. Your batter will become very crumbly looking.
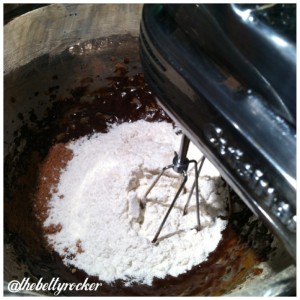
5. Use your hands to ascertain how moist the dough is. Form it into a ball. If it sticks together well and feels moist, you’re good to go. Most likely, it needs a little water to hold together when you roll it out, so you can either mix it directly into the batter, or work it in with your hands. I like using my hands, as it helps me really feel when the dough is sticky enough.
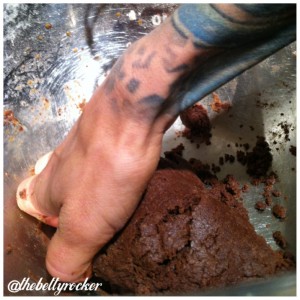
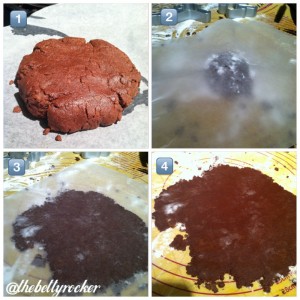
6. Shape the dough into a disc shape.
7. Sprinkle some rice flour on a clean surface and place the dough disc on top.
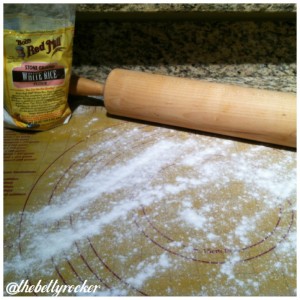
8. Sprinkle again with a little rice flour, and place a sheet of wax paper on top.
9. Roll out the dough until it’s an even, 1/8″ thickness. A little thicker is okay too, as these guys are pretty delicate.
10. Remove the waxed paper and cut out your shapes (get ninja men cookie cutters – and I actually used these fun Star Wars pancake molds from William Sonoma to make my star ships).
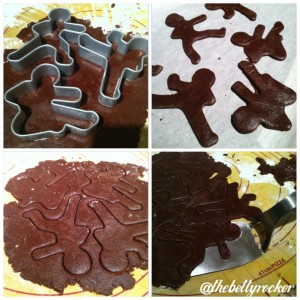
11. Scrape around the cookies with a sharp knife, and slide the cookies gently off the roll-out surface with a thin-edged metal spatula. Transfer to a cookie sheet lined with parchment paper.
12. Bake for 10 minutes, allow to cool briefly in the pan and then transfer to a cooling rack.

13. You can roll out the dough several times. For best results, simply work a little more warm water into it each time you’re re-rolling it if it seems dry.
Nutrition Facts
Dairy-Free Decorating Icing:
Recipe based on Royal Icing recipe from The Daring Kitchen – get more great ideas for using this icing there
Yield: about 1 1/2 cups
You will need: blender, mixing bowl, whisk
1 1/4 cups healthy confectioner’s sugar (in your high-speed blender, mix beet sugar or coconut sugar with arrowroot powder in a ratio of 1 cup sugar to 1 T powder. Note that if you use coconut sugar, your frosting will have a slightly brownish hue. I used lighter colored beet sugar for this frosting).
1 egg white (conveniently you have left overs from above)
1 tsp lemon juice
1/2 tsp vanilla extract
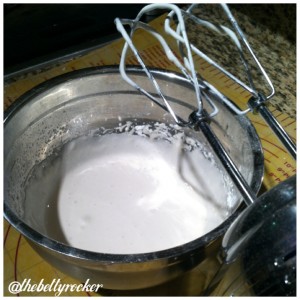
1. Beat the egg white, lemon juice and vanilla together in a mixing bowl.
2. Add the sugar to the egg whites and beat well. You’ll want to use this immediately as the icing will start to harden as it is exposed to the air. Which is good for your decorating!
3. Distribute icing in several small bowls and add food coloring.
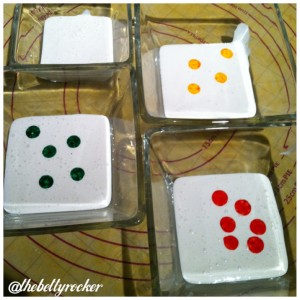
4. Mix them up and spoon into ziplock bags. If you have icing bags or icing tips, awesome! If not, simply cut a tiny hole in one of the corners of your icing bags and you can use them to decorate with.
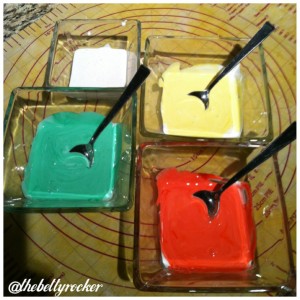
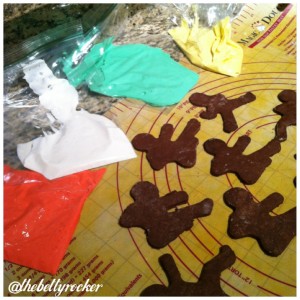
5. Squeeze gently, the icing may come out faster than you expect! Decorate your cookies with whatever shapes or fill you like, then use other colors to decorate or add more features.
